packaging for catbird creek

Since covid started and my work died for a few months, I had all the time I needed to work on my jewelry logo, website, and packaging.

I’ve been a graphic designer for over 20 years. It’s so much about finding balance : what does the client want and what do I like? What do I want to create and what is the budget? How much time could I spend on a project and when is the deadline?

With catbird creek being my very own project, I have freedom to design whatever I want. Due to covid, I have all the time in the world. My budget was somewhat limited, but I sort of love that part. How do I make something I like that is affordable. Also important to me… is it earth friendly?

Let’s start with the logo. True confessions… Tim and I enjoy creative thinking over a couple beers and pretzels. Like the scene from MadMen, all you need is a napkin and a pen to start writing down ideas. This is how we came up with Pebble Road, Lake Street Book Keep, and Catbird Creek.

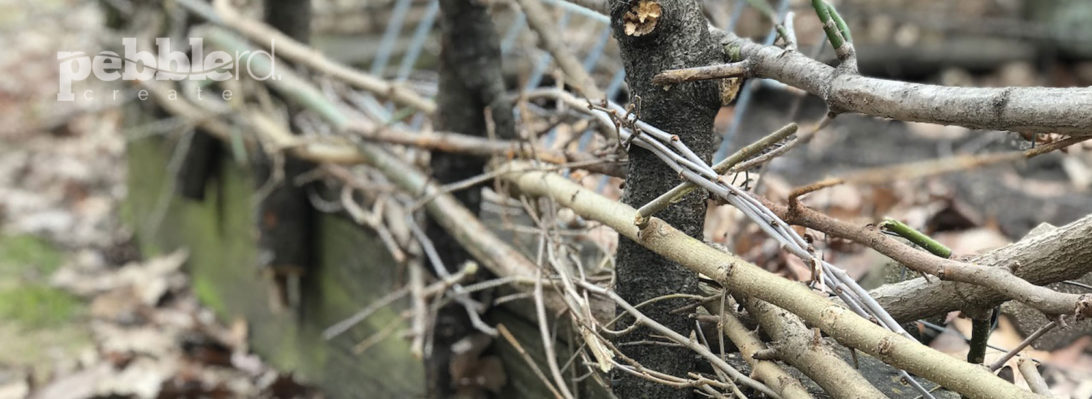
This is the first year we discovered a catbird in the back yard. I always wanted to create a logo with a bird in it. And when I think of Peopple Road–the actual spelling of the road I grew up on–I think of the creek where I spent hours playing as a kid. There was a barbed wire fence at the entrance to the creek. Purple has always been my favorite color. And there it is. A logo is born. Forget the pressure of designing a logo for a client and making it meaningful and readable and clean and perfect. That’s not me. This is me.

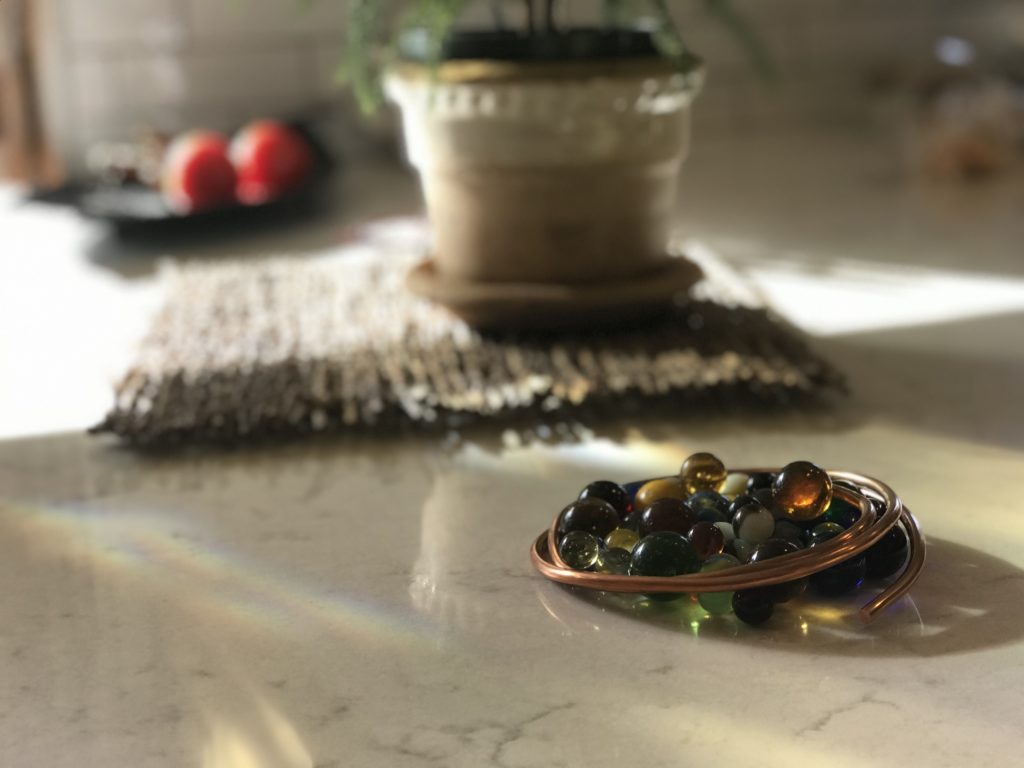
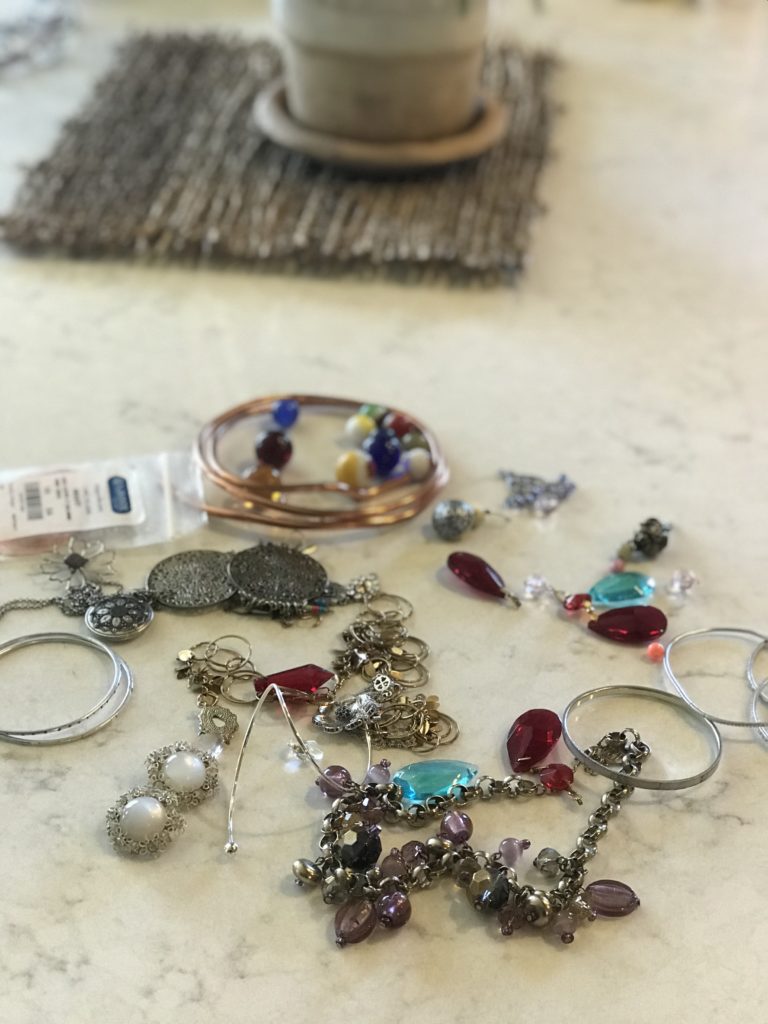
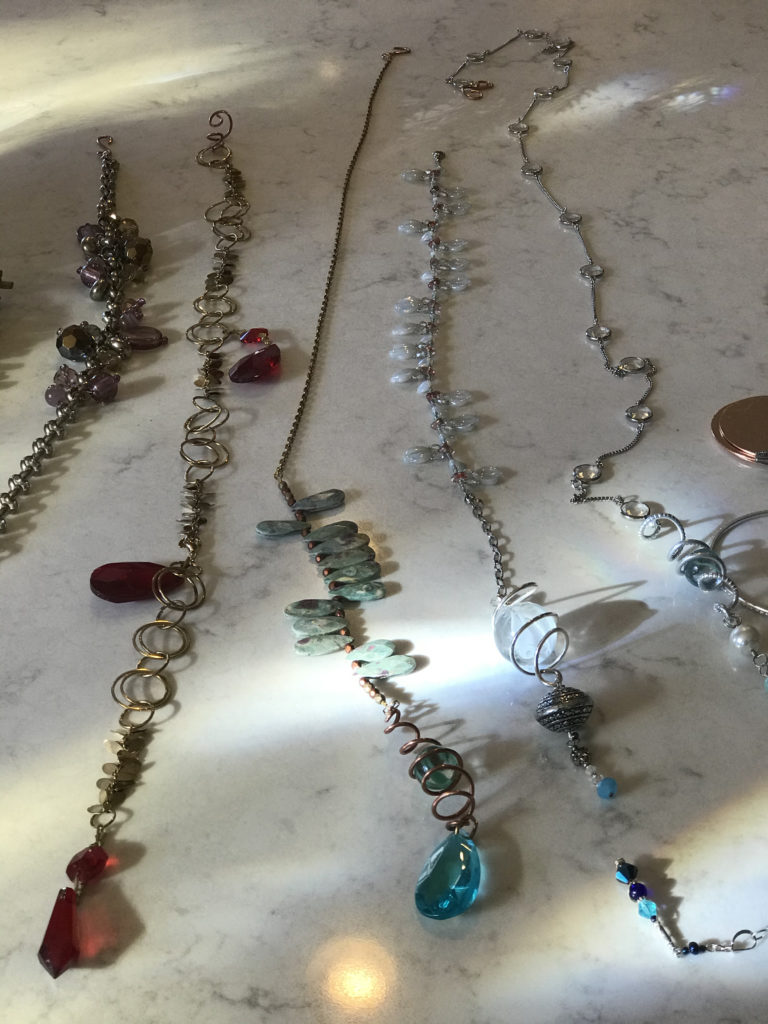
I’ve created these pieces of jewelry. It’s just a hobby– just fun. I really like hammering the metal. And i’ve really found my niche. Like my hand drawn bird and “catbird”, my style in jewelry is rough, hammered, organic, natural. I realized after selling my first piece that I needed packaging to go with it.

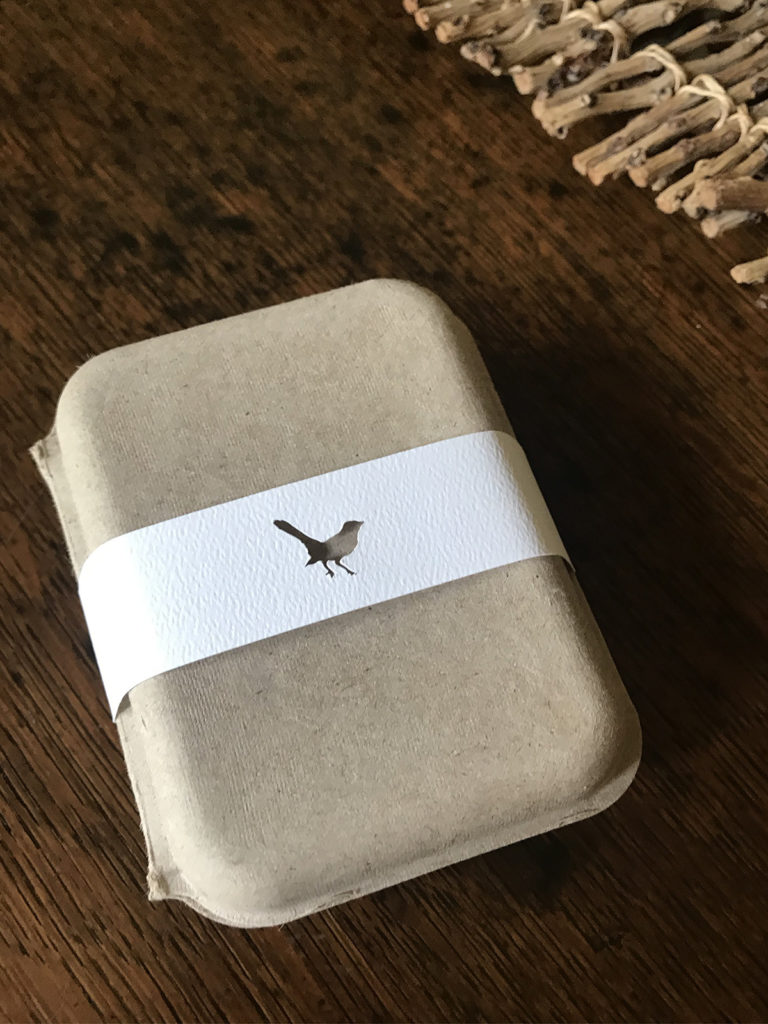
This was really fun. I wanted earth friendly packaging so I started with a simple recycled box from Eco-Friendly Packaging. The bird is a perfect icon to cut out of the strip of paper. Purchasing a Cricut to cut that bird was not in the budget, but I’m convinced that I will use the Cricut for other things.

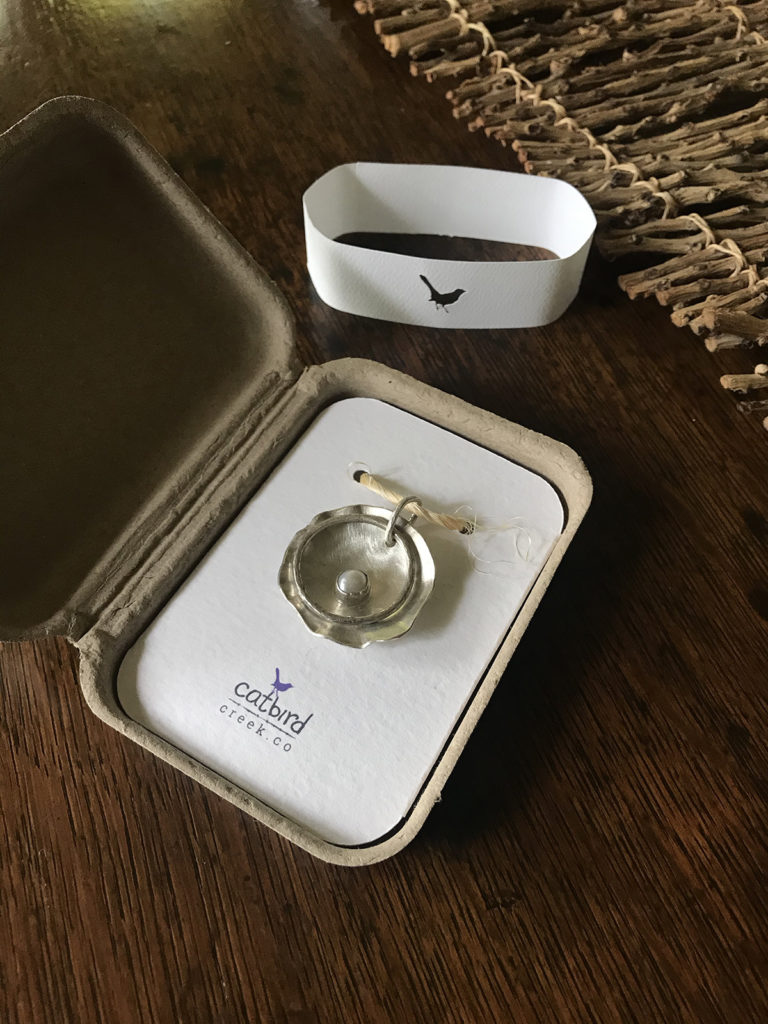
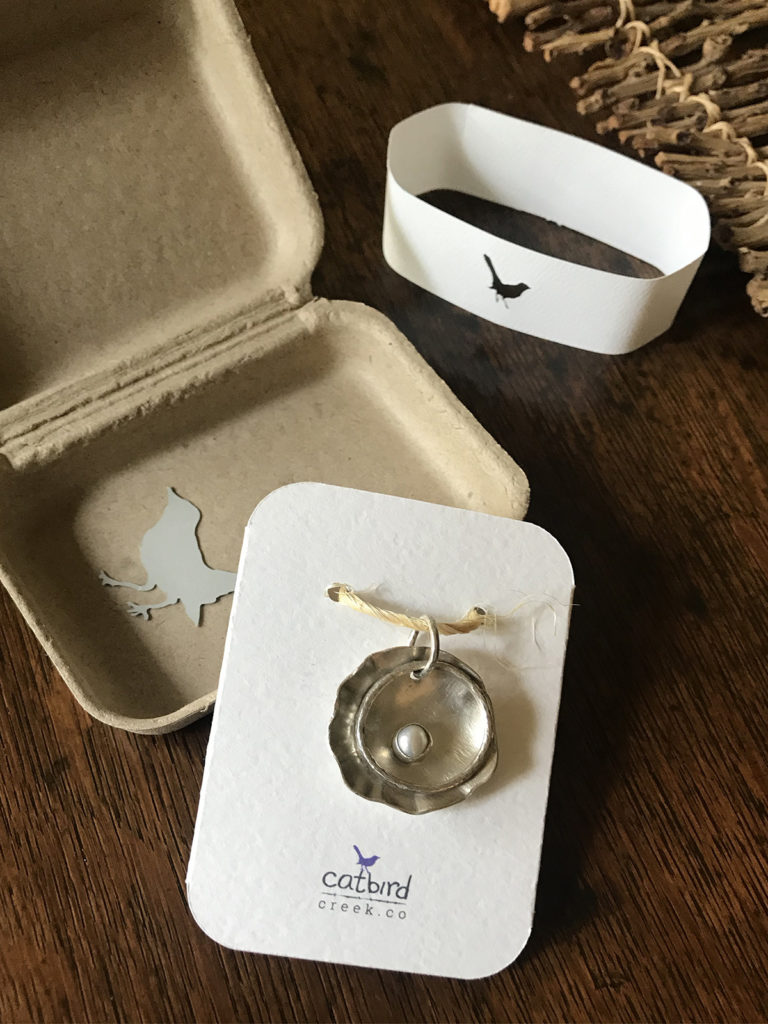
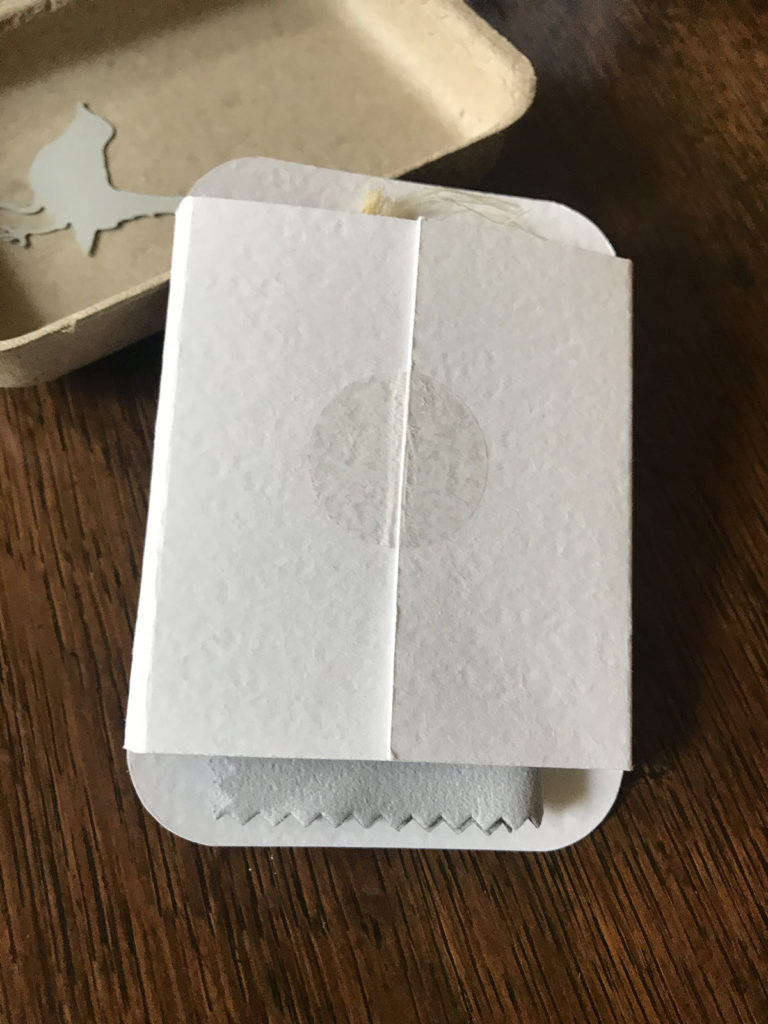
I then created a card to hold the jewelry. The cricut allowed me to die cut a piece of card stock exactly as I needed it, with two holes for the twine, scores for the folds and rounded corners to fit in the box. With this design, I can tuck the polishing cloth inside the card.

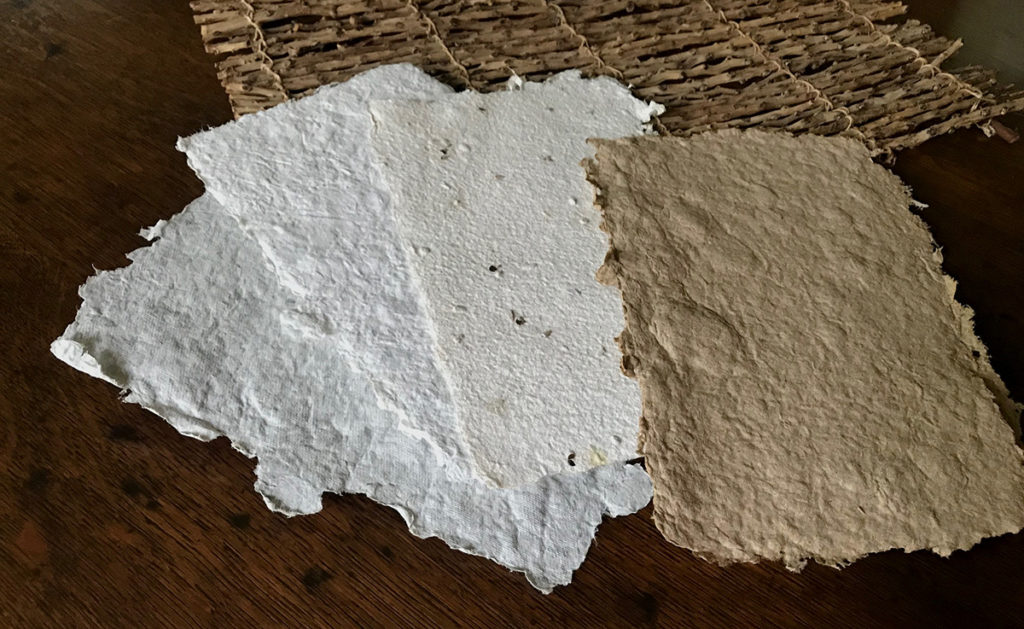
Being a graphic designer, I believe paper matters. When developing my brand for Pebble Road, I found Neenah Paper’s Canaletto. It has a great texture, 20% cotton for a soft feel, and comes in all the thicknesses I need.

Any why not throw a bird in the box?

Project complete. www.catbirdcreek.co

design by pebblerd.com

paper making

I first made paper when I was going to grad school at uw-madison. I was working on my masters in graphic design and I wanted to have some fun, so I took book making. It was fun! I won’t kid you, being an art major is too good to be true and so is being a graphic designer. I have absolutely loved my career. Back to paper making.

Before my Dad died, I interviewed him about his life. Each page of this book had quotes from the interview. I illustrated seven trees to represent each person in my family and illustrated the initial caps to match the trees. The pages of the book are held together with tree branches. see more

Part of the bookmaking class was actually making the paper for the books. We learned about different binding methods, printing, etc. The classroom for paper making was amazing. It had two pulping machines–large containers with sort of a lazy river and grinding system. We brought in used fabric made of 100% cotton and cut them into 2″ scraps. I went to the local resale shop and picked up some sheets, t-shirts and tablecloths. The scraps of fabric flowed around the lazy river, and at one point, funneled through grinders. Over the course of a few hours, the fabric turned into pulp–a mush of cotton.

The classroom also had large sinks, drains in the floor, huge buckets, screens large and small, drying racks and a hydraulic press to squeeze water out of the paper. I don’t have any of that at home, but paper making is still fun.

You’ll need a few things. The screen is essential. A bin can be used to screen the pages. If you buy a kit, it may come with a sheet of felt-like material. That’s fine, but I recommend finding an old wool blanket and cutting it into squares slightly larger than your screen. I found my old army blanket at the local resale shop. Wool is key. When you peel off the screen, you want the pulp to stick to the wool.

Basically, as the video shows, have a bucket of pulp and another container to screen the pulp. If you are looking for consistency, start with enough pulp to create the desired thickness and then add consistent amounts back in after making each sheet to maintain that thickness.

The pulp can be bought ready to go. Just ad water and depending on the quality, you probably want to soak in water overnight to make sure it’s loose. For the brown pulp, I used some packaging. It looked similar to egg carton material. I tore it into 2 inch squares and soaked it overnight. By the next morning it was broken down into mush. I ran my mixer through it to break up any chunks.

Leave the sheets of paper on the wool until completely dry. They may curl up if you them off early. The lawn chairs and table provided a great place to work. The screen on the table allowed the water to drip down and screen on the chairs made for fast drying.

from left to right, the first three are 100% recycled cotton. The third piece has seeds in it. The fourth is recycled packaging.

growing?

I’ve always wanted to try this. Now I have time.

The romaine lettuce appears to be growing… slowly.. but yeah. When I have time, I’ll see if there is something I should add to the water. For now, I am trimming the base to start and I refresh the water every day.

I’ve grown avocado pits before. My most successful “tree” got to be 12″ before I neglected it. It takes a long time for the pit to show any growth… maybe three weeks? I can see the brown outer skin on the large one is starting to crack. A sprout may be poking through soon. I used some toothpicks to keep the pit upright. This is the first time I have a vase like this. I had received it a couple years ago with tulip bulbs in it.

avocado pits
experimental orange seed

I remember my grandma ruby had an orange tree in her living room. I think it was at least several feet tall. It seems like I remember smelling it, but I may be confusing driving through the orange groves in Florida.

So a little potting soil inside an eggshell. A little dirt in the bowl will hold it upright. I admit, I don’t read things thoroughly or follow directions. I read something about nutrients in the eggshell and when the sprout is ready to transplant, crack the shell a little so the roots can explore.

You won’t get facts here. It’s all random, experimental and no disappointment if it fails.

potato fail

speaking of fails, the potato thing didn’t work. even though i changed the water frequently, the potatoes rotted and smelled horrible. I’ll try to find a safe way to get to the greenhouse for some real starter potatoes. curbside pickup?

shiny objects

marbles
some of these marbles were those I played with in 2nd grade–over 45 years ago. Some were my dads!

keeping critters out of my garden is a real problem. I have yet to see a strawberry mature. sprouts are nibbled off before they are inches tall.

in addition to the fencing i’ve been working on, i thought some shiny objects might keep the birds out. a big bag of broken jewelry, marbles, and wire were used to make some beautiful garden necklaces. You can see… anything goes.

new bed for vegetables

Yesterday I hauled some dirt and logs to create a new garden area. I think tomatoes may grow well here. I found some extra windows in the basement. I hope to lay them over the dirt and create a mini greenhouse.

garden fence

in the wake of covid-19, i’ve been practicing social distancing and going out in public less and less for a several weeks now. since last friday, march 20, I stopped going into public places.

wanting to build a fence for my garden, i considered curbside pick up or walking into the hardware store to get some fencing, wood, and soil, but decided not to. I wondered if I could find what I needed at home.

I was lucky that a large tree was cut down in the lot next door–fenceposts ready to go! digging in the basement, i found nails, the drill, and extension chord. a couple tree trimming tools and i was ready to build.

i made it up as I went along. it was definitely a creative process. what sticks fit where? what makes a good corner post? what can I do with this log that a woodpecker pecked holes into?

the best part? i was so absorbed in creating and thinking that i could forget about all the sadness around me.

before
almost done

side tables : update

These tables were twenty years old, scratched and much darker than I wanted. Being solid wood, I was able to sand the tops. In the end, I’d like to see the wood grain.

Homemade chalk paint worked easily on the lower parts. I always wash with trisodium phosphate to remove dirt and grease, rinse well and let dry before painting. Here is a recipe from Lowes. Basically, mix 1/3 cup of Plaster of Paris and 1/3 cup of cool water; stir until completely smooth. Mix that with 1 cup of latex paint and stir thoroughly. This will make enough chalk-finish paint for one coat on a six-drawer dresser.

Once that was done, I watered down some of the chalk paint until it was as thin as milk. I used this thin was as a stain for the top. Depending on how thin your stain is determines how many coats you want. Just keep adding layers of stain if you want more color or create a thicker stain.

After drying for a couple days, I rubbed and buffed 3-4 coats of Minwax Paste Finishing Wax. One might think that an acrylic polyurethane would work well, but it didn’t for me. Although all instructions and research indicated it was safe, the surface of my dining room table had to be refinished because the acrylic polyurethane made the chalk paint bubble and peel off! After that, I never used anything but wax. Rub the wax on generously and leave for ten minutes. Buff. Repeat 2-3 more times.

This small oval table was found at St. Vincent DePauls. One leg was wobbly and the top had many water stains. But the wood grain was beautiful. I really like how the purple/gray paint looks, especially with the wood grain.

holiday lights

I pulled out the strings of holiday lights only to find out that some were chewed by critters. I did not want to purchase another string of lights–and condone adding more plastics to our world.

Looking through the house I found a number of vases, jars, and candle holders. I went to St. Vinneys to get a few more along with orphaned candle stubs. The candles I found at Vinney’s were knicked, ugly, and some were used. But it didn’t matter. They were perfect for my holiday lights. I gave them purpose.

I lined them up on the porch railing and burned the candles for a few hours each night. Beautiful!